 When you travel, there’s a lot to take in. You’re seeing all sorts of new sights, meeting all sorts of new people and trying all sorts of new things — it can be a lot to absorb! To help remember every thing from every adventure, many people create travel logs wherever they go. And fittingly enough, the Travel Log collection has all the supplies you need to create your own DIY travel log. Check out how blog contributor Tina used the collection to make a log that captures her wanderlust!
Tina’s Inspiration
My inspiration for this project is the notes I take while I travel. Why not have a dedicated travel log or notebook for your impressions, anecdotes, and experiences all in one place? When you are ready to scrapbook those memories, you won’t have to scramble to find your notes because it’s housed in your very own travel log.
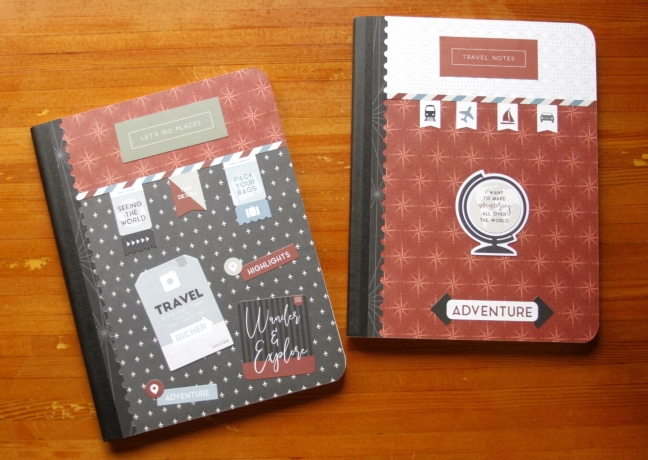
To create this project, you will need:
- Travel Log Paper Pack
- Travel Log Banner & Tag Embellishments
- Travel Log Variety Mat Pack
- Travel Log Stickers
- 12-inch Trimmer
- Tape Runner
- Composition Notebook

Step 1: Cut paper for the front and back covers. Cut the top piece to measure 2-1/2″ x 6-3/4″, the bottom piece to measure 7-1/4″ x 6-3/4″ and the back piece to measure 9-3/4″ x 9-3/4″.
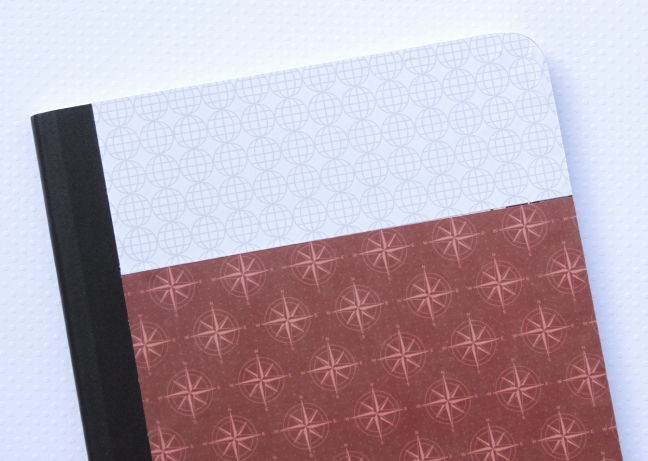
Step 2: Adhere the pieces of paper to the front and back covers with the Tape Runner and trim any overhang.
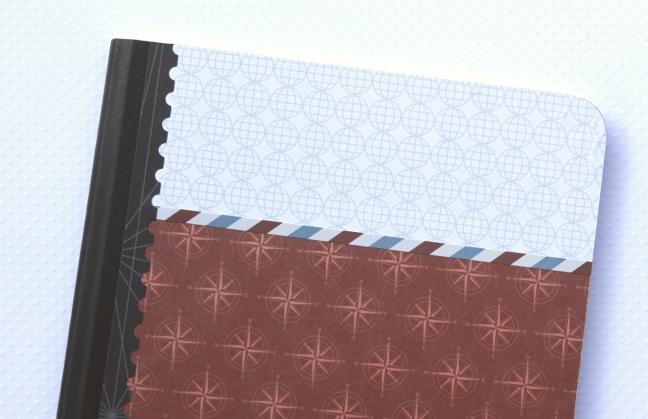
Step 3: Attach border stickers to the binding where the paper meets the binding and to the paper seam on the front cover. Trim them to fit.

Step 4: Cut out “Let’s Go Places” and “Travel Notes” from the Travel Log Variety Mat Pack and adhere them to the front cover using the Tape Runner.
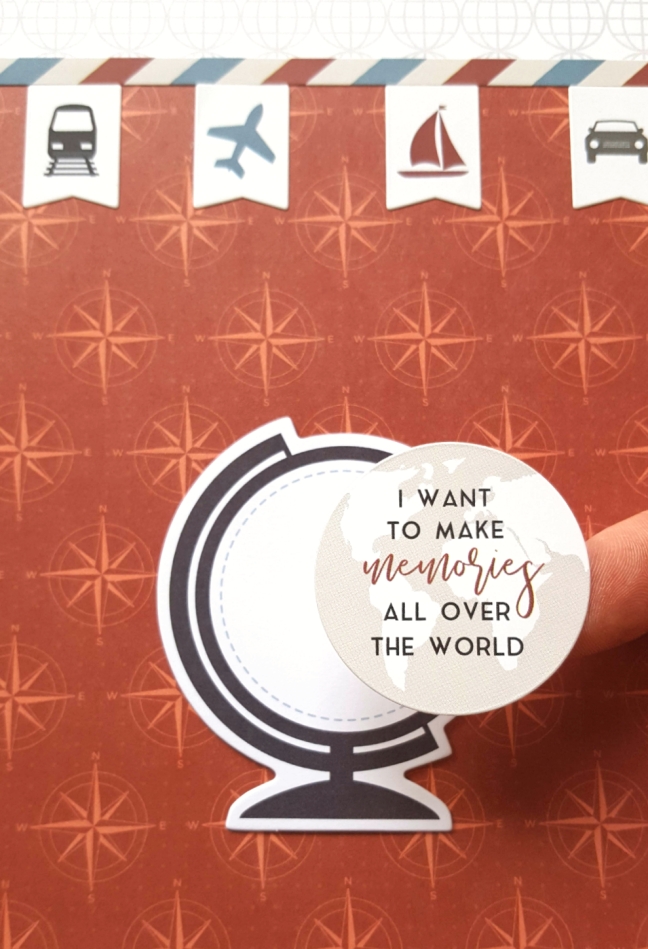
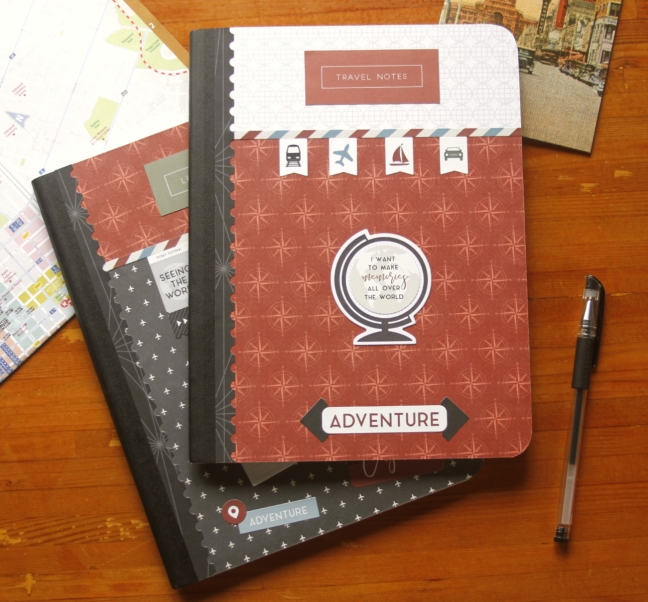

Step 5: Decorate the front cover using Travel Log Embellishments and Stickers.
This project is a great way to use any leftovers supplies from the Travel Log collection. I’m looking forward to using this DIY travel log very soon.
There are so many ways to preserve and commemorate the memories you make when you travel. How do you like to document your trips and adventures? Comment below!
